How to create an Access Control profile via Web GUI?
Options

Zyxel_Support
Posts: 436  Zyxel Employee
Zyxel Employee
Step 1: Access the Web GUI with a web browser.
- Open a browser such as Chrome, Firefox, Safari and so on.
- Type http://zyxelwifi.com, http://zyxelwifi.net or http://192.168.212.1 (default IP address) in the address bar of the browser.
In order to be able to access the Web GUI, you might have to get the correct IP address which is assigned from the router if your Multy Plus (WSQ60) is in bridge mode.


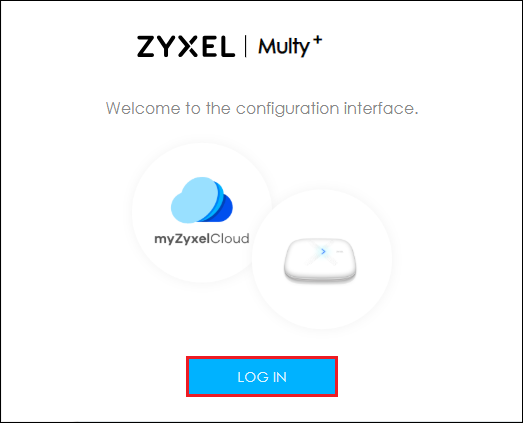
Step 2. Log in with your myZyxelCloud account.
Step 3: Click the "Menu" icon.

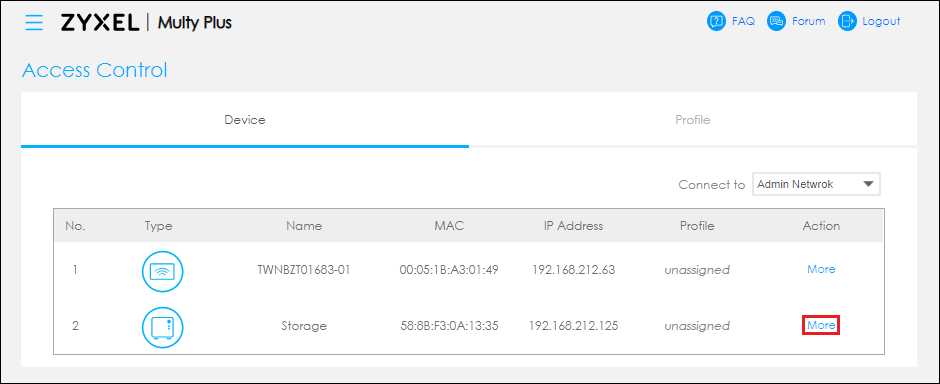
Step 4: Click "Access Control".

Step 5: Find the device and click "More" in the field "Action".
Device name Storage is selected as an example for this article.
Device name Storage is selected as an example for this article.
Step 6: Click "Add New Profile".

Step 7: Fill in
the "Profile Name" and click the "APPLY" button.

Step 8: Create the scheduler

- Click the time blocks to select the allow or block time or drag the cursor for continuous time blocks.
- Click the APPLY button to apply the settings.
Step 9: Go back to the Device Detail page.
After applying the new scheduler, the page will be redirected back to Device Detail and the selected device will be associated with the profille.

After applying the new scheduler, the page will be redirected back to Device Detail and the selected device will be associated with the profille.
Step 10: Click the "Menu" icon and click "Access control" to check if the profile is created successfully and is linked to the selected device.
0
Categories
- All Categories
- 385 Beta Program
- 2.1K Nebula
- 116 Nebula Ideas
- 80 Nebula Status and Incidents
- 5.1K Security
- 75 USG FLEX H Series
- 247 Security Ideas
- 1.3K Switch
- 70 Switch Ideas
- 908 WirelessLAN
- 34 WLAN Ideas
- 5.9K Consumer Product
- 210 Service & License
- 335 News and Release
- 71 Security Advisories
- 21 Education Center
- 5 [Campaign] Zyxel Network Detective
- 1.9K FAQ
- 886 Nebula FAQ
- 415 Security FAQ
- 228 Switch FAQ
- 200 WirelessLAN FAQ
- 46 Consumer Product FAQ
- 137 Service & License FAQ
- 34 Documents
- 34 Nebula Monthly Express
- 73 About Community
- 63 Security Highlight
